How to Use 150mm Metal Stud for Building Frameworks and Drywalls?
In the construction industry, the choice of materials can significantly influence the outcome of building projects. The 150mm Metal Stud stands out as a versatile option. This durable material is essential for creating robust frameworks and drywalls. Understanding its practical applications is key to successful construction.
Using 150mm Metal Studs may seem straightforward, yet it requires knowledge and careful planning. These studs provide strong support, making them ideal for both residential and commercial projects. However, improper installation can lead to structural issues. It's crucial to follow best practices to achieve the desired results.
Moreover, builders must consider local regulations and standards. Adhering to these guidelines ensures the safety and longevity of the structures. By employing the right techniques with 150mm Metal Studs, one can harness their full potential. This approach will lead to more efficient and reliable frameworks, ultimately enhancing the overall quality of the construction.
Choosing the Right 150mm Metal Studs for Your Project
When choosing 150mm metal studs for your project, consider several key factors. The steel gauge matters significantly. Thicker studs offer more strength but can be harder to work with. Lighter gauges are easier to install but may not provide the same durability. Assess the specific needs of your structure to find the right balance.
Another important aspect is the height of the studs. Taller studs are often needed for larger spaces or ceilings. Ensure they meet building codes in your area. Additionally, observe the spacing of the studs. A standard distance of 600mm between studs often suffices for drywall installation. Adjust this based on your project’s requirements.
The finish of the metal is also crucial. Galvanization can protect against rust and wear, extending the life of your framework. Yet, some users report challenges with the installation of coated studs, which can slip during setup. Take time to research the options available. Engaging with professionals is advisable, as their insights can help refine your choices. Pay attention to the environment of the installation too; moisture levels can impact the selection.
How to Use 150mm Metal Stud for Building Frameworks and Drywalls?
| Dimension |
Material |
Weight per Meter |
Load Capacity |
Use Case |
| 150mm x 50mm |
Galvanized Steel |
1.2 kg/m |
70 kg |
Interior Walls |
| 150mm x 70mm |
Aluminum |
1.0 kg/m |
80 kg |
Exterior Walls |
| 150mm x 100mm |
Galvanized Steel |
1.5 kg/m |
100 kg |
Heavy-duty Partitions |
| 150mm x 40mm |
Aluminum |
0.8 kg/m |
50 kg |
Lightweight Partitions |
Step-by-Step Guide to Installing 150mm Metal Stud Frameworks
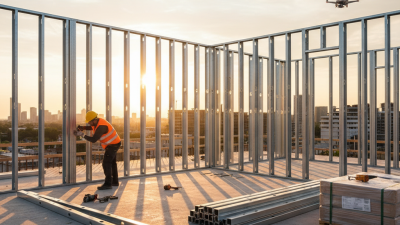
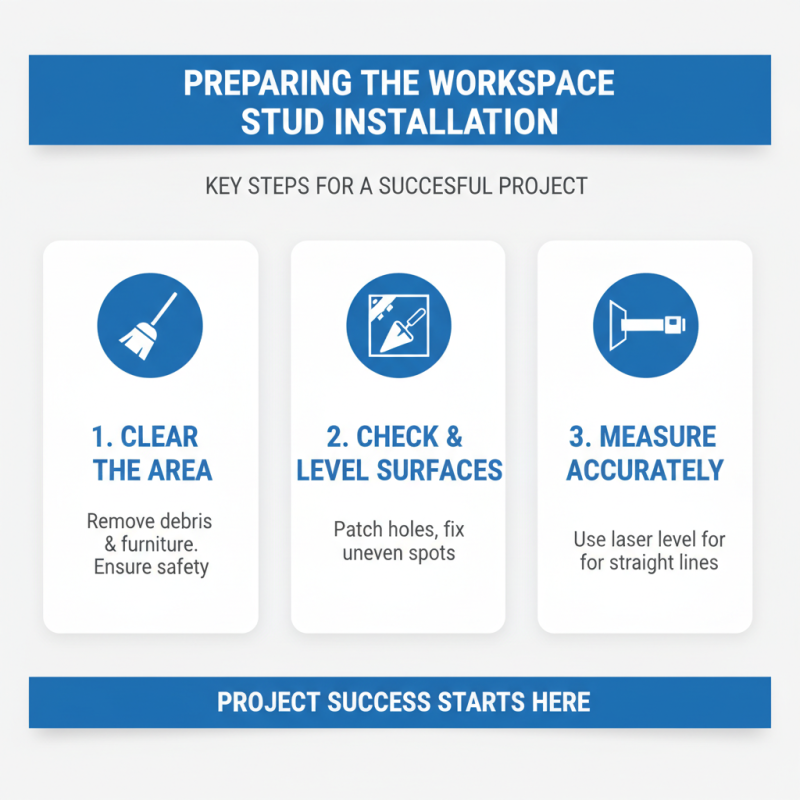
Installing 150mm metal stud frameworks requires precision and planning. Begin by measuring your space accurately. A level and square will ensure your walls are straight.
Prepare your metal studs by cutting them to the required lengths. Remember to wear gloves while cutting, as sharp edges can cause injuries.
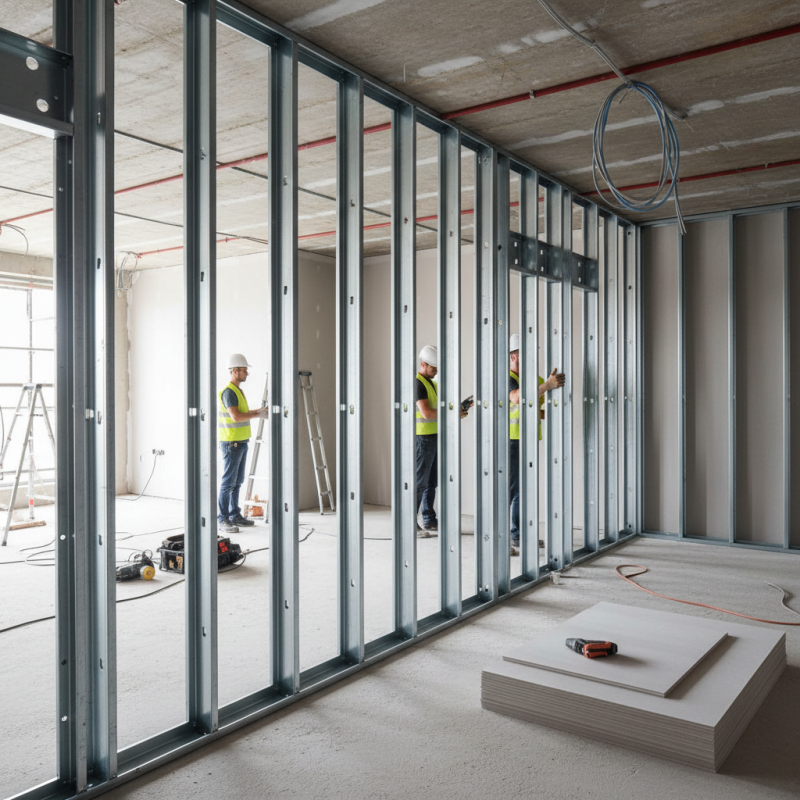
Once your studs are ready, mark the positions on the floor and ceiling. Align the studs with these marks and secure them using self-tapping screws. It's crucial to check for alignment frequently.
In my experience, a slight misalignment can cause major problems later. Sometimes, adjustments need to be made on the fly. Don’t be discouraged if things aren’t perfect initially.
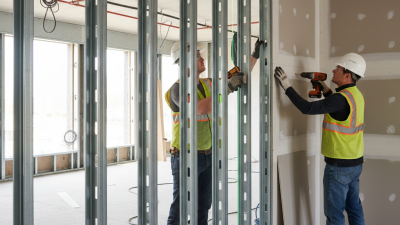
As you install the vertical and horizontal studs, ensure they are flush and properly secured. Use a screw gun for efficient fastening. Remember to leave space for wiring and plumbing if needed.
Reflection is key here; if you notice any errors, take a moment to reassess your layout. This can save time and frustration down the line.
Best Practices for Integrating Drywall with Metal Studs
When integrating drywall with 150mm metal studs, precision is key. The correct stud spacing enhances the structural integrity of your framework. According to the Gypsum Association, proper spacing ensures that drywall can adequately support itself without sagging over time.
Ensure you use screws specifically designed for metal studs. These screws provide a secure hold and prevent stripping. Make sure to check the types of screws allowed per local building codes. Each locality may have different regulations that can impact your project.
Tip: Always double-check your measurements before cutting studs. Cutting even a few centimeters too short can lead to complications in installation.
Additionally, when attaching drywall, stagger the seams. This method improves the overall strength of the wall. It reduces the chances of cracks appearing and boosts stability.
Tip: Keep a level or framing square handy. Alignment issues are common, and a quick check can save time later.
Consider the insulation between the studs. This step contributes to better thermal and acoustic performance. Research shows proper insulation can reduce energy costs by up to 30%.
Review your installation process regularly. Learning from past mistakes will enhance future projects. Sometimes, a simple adjustment makes all the difference.
Finishing Touches: Insulation and Taping Techniques for Drywalls
Insulating your drywall is crucial for energy efficiency. Begin by choosing the right insulation material. Fiberglass batts are popular for their ease of installation. Make sure the batts fit snugly between the metal studs to eliminate gaps. Air leaks can lead to higher energy bills.
When it comes to taping, precision is key. Use a quality joint compound to create smooth surfaces. Apply tape over the seams between drywall sheets. A common mistake is not pressing the tape firmly enough. This can result in bubbling later. Aim for a seamless finish by feathering the edges of your joint compound.
Tips: Always sand lightly between coats of joint compound. This prevents uneven surfaces. Don’t rush the drying process; proper curing is essential. Remember that a well-finished drywall is not just about appearance. It impacts the overall longevity of your installation. Keep a keen eye on detail.