Essential Tips for Using Metal Stud in Wall Construction?
When constructing walls, many builders consider the use of metal stud in wall framing. This method brings distinct advantages over traditional wood framing. It provides durability, is resistant to moisture, and is often lighter. Metal studs are particularly beneficial in commercial applications, but can also be used in residential settings.
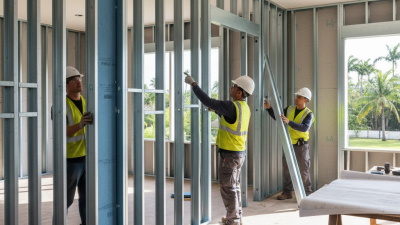
The installation process, while straightforward, has its nuances. Proper alignment and fastening are crucial. Beginners sometimes overlook these details, leading to structural issues. Experience shows that even small miscalculations can complicate future repairs.
Understanding the properties of metal studs is important for any project. They have different gauge options that influence strength and cost. While they have many benefits, they are not a one-size-fits-all solution. Builders should carefully assess specific needs when incorporating metal studs into wall construction. This attention to detail ensures a reliable outcome.
Understanding Metal Studs: Types and Benefits in Wall Construction
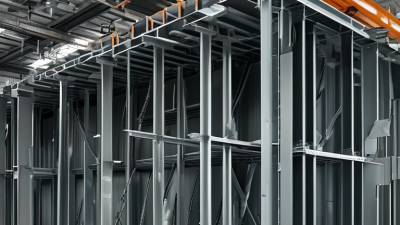
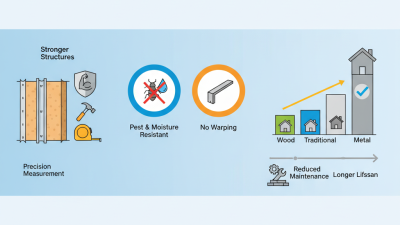
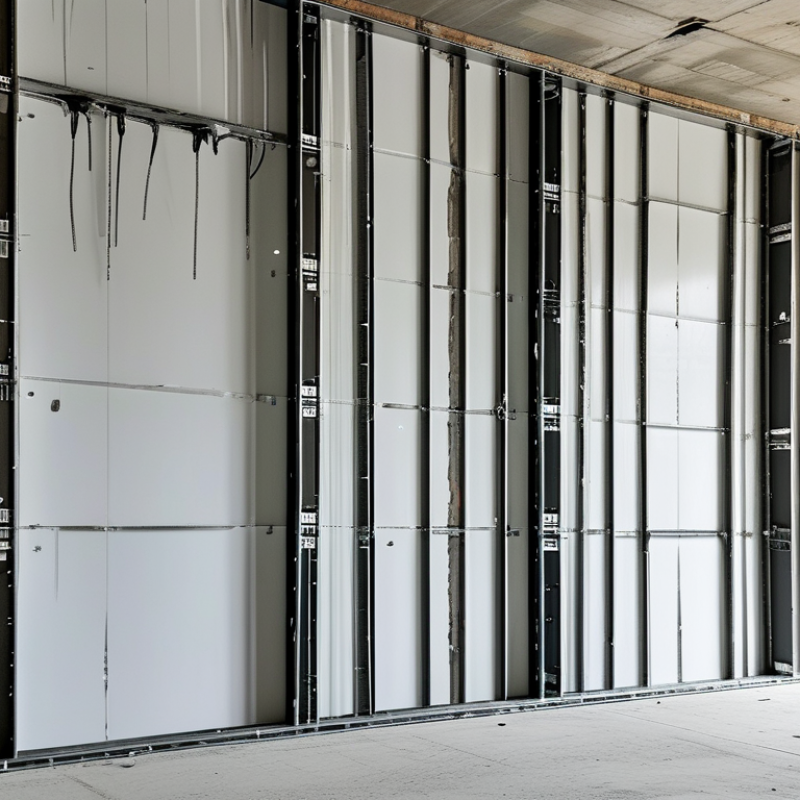
Metal studs have gained popularity as a core material in wall construction due to their durability and versatility. According to a report by the American Iron and Steel Institute, metal studs are lighter than wood and can reduce labor costs by up to 25%. This efficiency is crucial in today’s fast-paced construction environments. Metal studs resist warping and cracking, common issues with traditional materials. They provide a reliable framework that supports various wall finishes and insulation types.
Different types of metal studs are used in construction, including steel and aluminum. Steel studs typically offer greater strength and are often used in commercial buildings. Aluminum studs are lighter and more resistant to corrosion, making them ideal for interior applications. A study by the National Association of Home Builders indicates that projects using metal studs tend to require less maintenance over time, leading to lower long-term costs.
However, some challenges exist when using metal studs. Proper installation requires specialized knowledge. Incorrect spacing can lead to structural weaknesses. It's essential to follow guidelines strictly. While metal studs are certain advantages, thorough planning and consideration are essential for best results in wall construction.
Preparing for Metal Stud Installation: Tools and Materials Needed
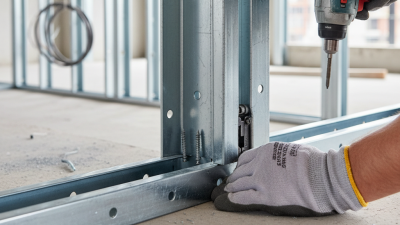
When preparing for metal stud installation, having the right tools is crucial. Essential tools include a stud finder, level, and chalk line. A cordless drill and screw gun will expedite the process. A measuring tape, utility knife, and safety goggles are also key. Make sure to wear gloves to protect your hands.
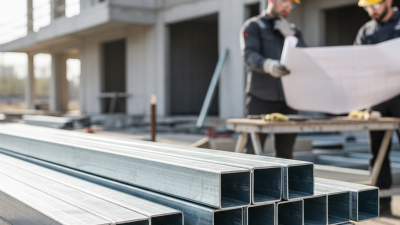
Materials are equally important. You need metal studs, track, and screws specifically designed for them. Ensure you purchase enough material for the size of your project. Consider the type of insulation if necessary. It's vital to check for any imperfections in your studs before starting. Bending or warping can affect the alignment of your walls.
Reflect on your workspace as well. A clean and organized area leads to fewer mistakes. Gather all your materials ahead of time to avoid unnecessary interruptions. Some might find it challenging to keep everything neat, but it pays off in the end. Take your time with measurements; they are the foundation of a successful build.
Essential Tips for Using Metal Stud in Wall Construction
| Dimension |
Details |
| Metal Studs |
Galvanized steel, typically 3-3.5 inches in width |
| Track System |
Top and bottom tracks to support vertical studs |
| Tools Needed |
Level, measuring tape, screw gun, snips, safety glasses |
| Installation Steps |
Measure space, cut tracks, install tracks, position studs, secure with screws |
| Insulation |
Consider soundproofing or thermal insulation between studs |
| Fire Safety |
Use fire-rated materials in fire-prone areas |
| Finishing |
Install drywall, tape, sand, and paint after structural work |
Step-by-Step Guide to Properly Installing Metal Studs
Installing metal studs in wall construction can dramatically improve durability and stability. To ensure success, follow a step-by-step guide. Start by measuring the wall area. Accurate measurements prevent costly mistakes. Use a level to mark vertical and horizontal lines on the floor and ceiling. This helps in maintaining alignment.
When cutting metal studs, use a shear tool for clean ends. Ensure personal safety by wearing gloves and goggles. Secure the studs to the floor track first. This provides solid ground to attach vertical studs. A report by the Steel Stud Manufacturers Association states that metal studs can reduce the overall weight of a structure by 20% compared to wood.
Tips for installation include pre-drilling holes for wires if needed. Use anchors to secure heavier items. Check for any irregularities before fastening to avoid future issues. Mistakes during installation can lead to misaligned walls, which require extensive rework. Pay close attention to the spacing of studs; they should be 16 or 24 inches apart, depending on the project requirements. Ultimately, patience and precision are key in achieving a professional finish.
Metal Stud Wall Construction: Essential Tips
Common Mistakes to Avoid When Using Metal Studs
Using metal studs can streamline wall construction, but common mistakes can lead to significant issues. One frequent error is neglecting to measure accurately. If your measurements are off, panels may not fit properly. Gaps can form, weakening structural integrity. Always double-check dimensions before cutting.
Another mistake is improper fastening techniques. Many people underestimate the importance of correct screws and spacing. If screws are too far apart, walls may buckle. In contrast, too many screws can create unnecessary stress points. Maintaining consistent spacing is crucial for stability and durability.
Lastly, avoid overlooking environmental factors. Metal can expand and contract with temperature changes. Ignoring this may result in warping or cracking of drywall. It’s essential to account for these variations in climates. A thoughtful approach during installation can create a solid foundation for a long-lasting structure.
Finishing Techniques for Walls Built with Metal Studs
When finishing walls constructed with metal studs, attention to detail is crucial. Metal studs provide a sturdy framework. Yet, the finishing process can reveal imperfections if not done correctly. According to the Gypsum Association, nearly 40% of wall defects are linked to poor finishing techniques. This statistic emphasizes the need for skilled labor during installation.
For drywall attached to metal studs, taping and mudding are essential. The seams need to be flush to avoid visible lines. A common mistake is over-sanding or under-sanding the joints. Over-sanding can lead to uneven surfaces, while under-sanding may leave bumps. Industry professionals recommend using a light touch and checking for smoothness frequently.
Additionally, choosing the right texture or paint can impact the final look. Textured finishes can help hide minor flaws. However, over-application can create an unappealing surface. Consistency in technique is important. A survey by the National Association of Home Builders showed that 25% of homeowners cite wall finish quality as a top concern. This reveals not only the importance of expert finishing but also the potential regrets if not executed properly.